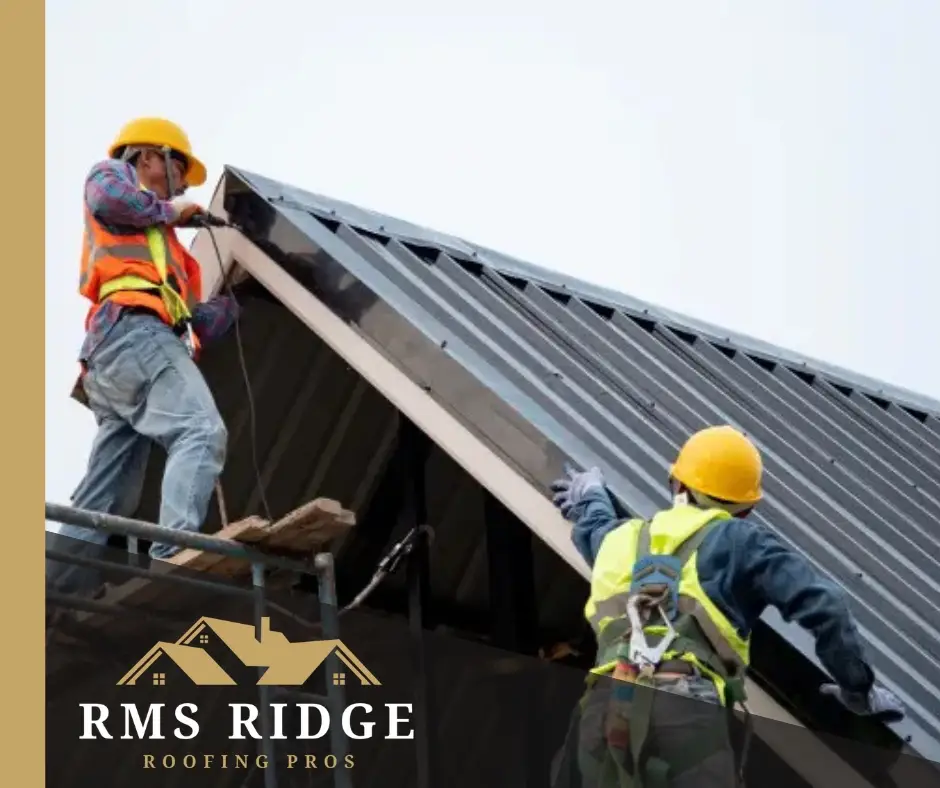
A roofing installation is a detailed process that involves several critical steps to ensure your home is properly protected. Whether you’re replacing an old roof or installing a new one, understanding each phase of the process helps you know what to expect. Here’s a comprehensive guide to the roofing installation process, from preparation to completion.
Step 1: Preparing for the Roofing Installation
The first step in any roofing installation is preparation. This involves a thorough inspection of the existing roof to identify any structural issues that may need to be addressed. Roofing professionals check for damaged decking, weak spots, and compromised flashing.
Once the inspection is complete, the old roofing materials are carefully removed to create a clean surface for the new installation. During this phase, the crew will also take measures to protect your property, covering landscaping and moving any outdoor furniture or vehicles.
Step 2: Installing the Underlayment and Flashing
After the old roof is removed, the next step is installing the underlayment. This protective layer acts as a barrier against moisture, ensuring your roof remains watertight. The underlayment is rolled out and securely fastened to the decking, providing a smooth base for the main roofing materials.
Flashing is then installed around roof penetrations such as chimneys, vents, and skylights. Proper flashing installation is crucial for preventing water leaks in these vulnerable areas. High-quality materials and precise application ensure long-term durability and protection.
Step 3: Laying the Roofing Materials
With the underlayment and flashing in place, it’s time to install the main roofing materials. Whether you’ve chosen asphalt shingles, metal panels, or clay tiles, the process involves carefully aligning and securing each piece.
Roofers start at the bottom edge of the roof and work their way up, overlapping materials to create a seamless, weather-resistant barrier. This layering technique ensures that water flows off the roof effectively, preventing leaks and moisture buildup.
Throughout this stage, roofers focus on precision to maintain a uniform appearance and optimal performance. They also install ridge caps and vents to complete the roofing installation, ensuring proper ventilation and aesthetic appeal.
Step 4: Final Inspection and Cleanup
Once the new roof is installed, a final inspection is conducted to verify the quality of the work. Professionals check for proper alignment, secure fastenings, and effective sealing around edges and penetrations. This step ensures that the roofing installation meets industry standards for durability and performance.
After the inspection, the crew cleans up the worksite, removing any debris, old materials, and unused supplies. This leaves your property looking neat and ready to enjoy your new roof.
Understanding each phase of the roofing installation process helps homeowners feel confident in their investment. By working with skilled professionals, you can ensure a smooth and efficient installation that provides long-lasting protection for your home.
Read More:
